
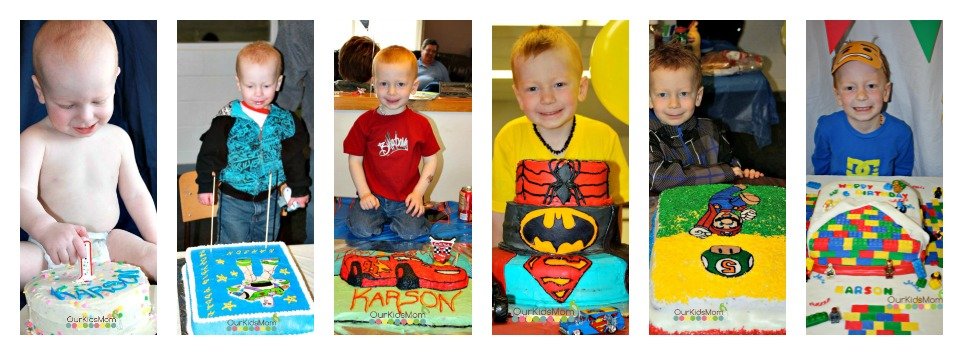
In April, my eldest celebrated his 6th birthday, choosing a Lego theme for the occasion.
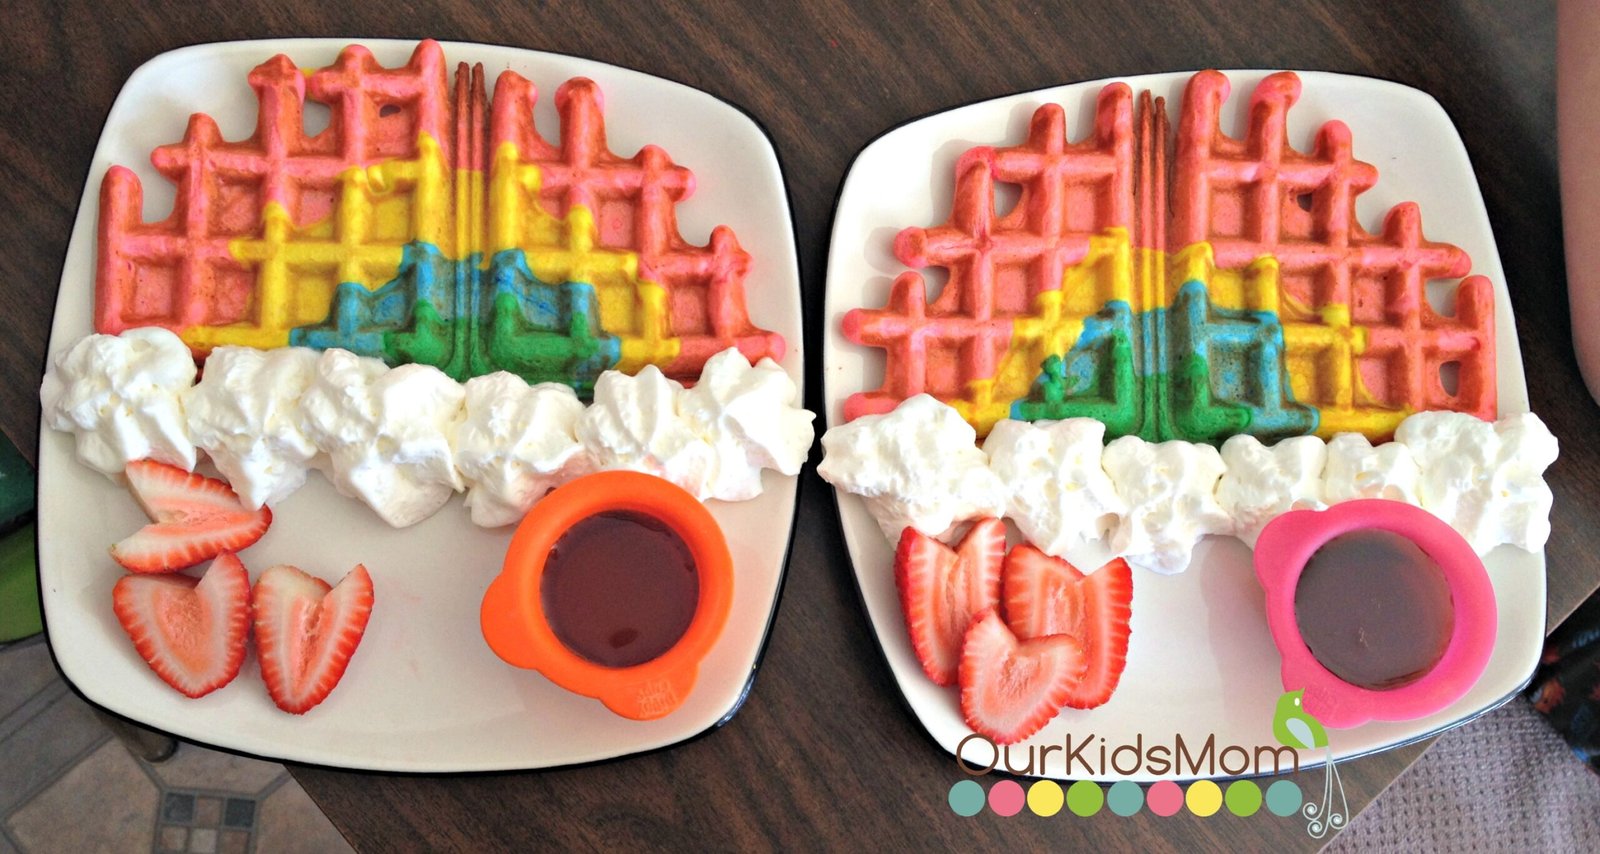
We kicked off his special day with colorful rainbow waffles inspired by a recipe I found on YouTube.
This delightful breakfast was incredibly easy to prepare…
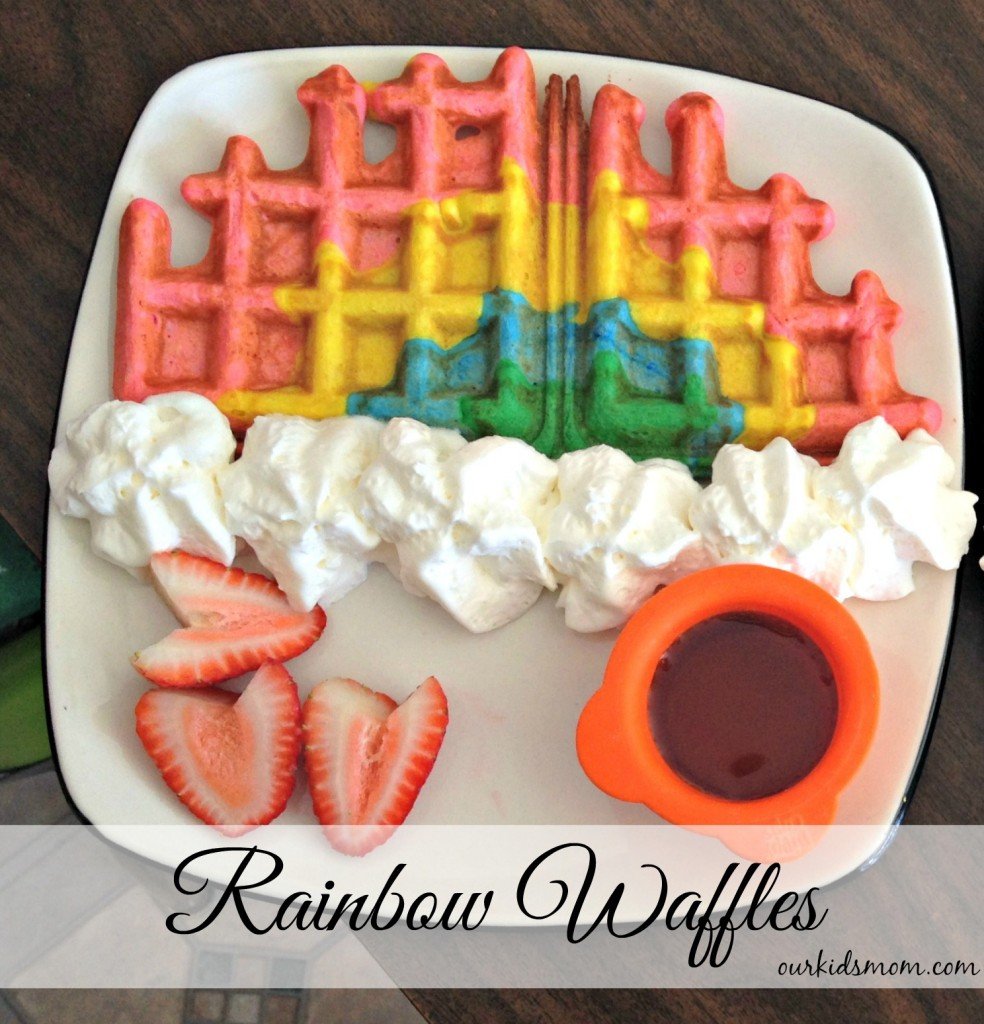
- Prepare your waffle batter as you normally would, dividing it into four ziplock bags and adding food coloring (I chose green, blue, yellow, and red). Mix the colors well.
- Once your waffle maker is heated, carefully snip a tiny hole in one corner of each bag.
- Start by placing a small dot of your first color and then encircle it with the next color. Repeat with the remaining colors.
- Close the lid and wait for the waffles to cook. If your waffle maker has adjustable heat, lower it to preserve the colors (I had to be careful with mine since it doesn’t have a dial).
- Once done, I cut the waffles in half to create a rainbow effect, topped them with whipped cream (or you could use ice cream) for clouds, and placed a small cup of syrup as the golden pot at the end.
The kids absolutely loved these waffles! Although I learned the hard way not to cut the hole in the bag too wide, which made things a bit messy.
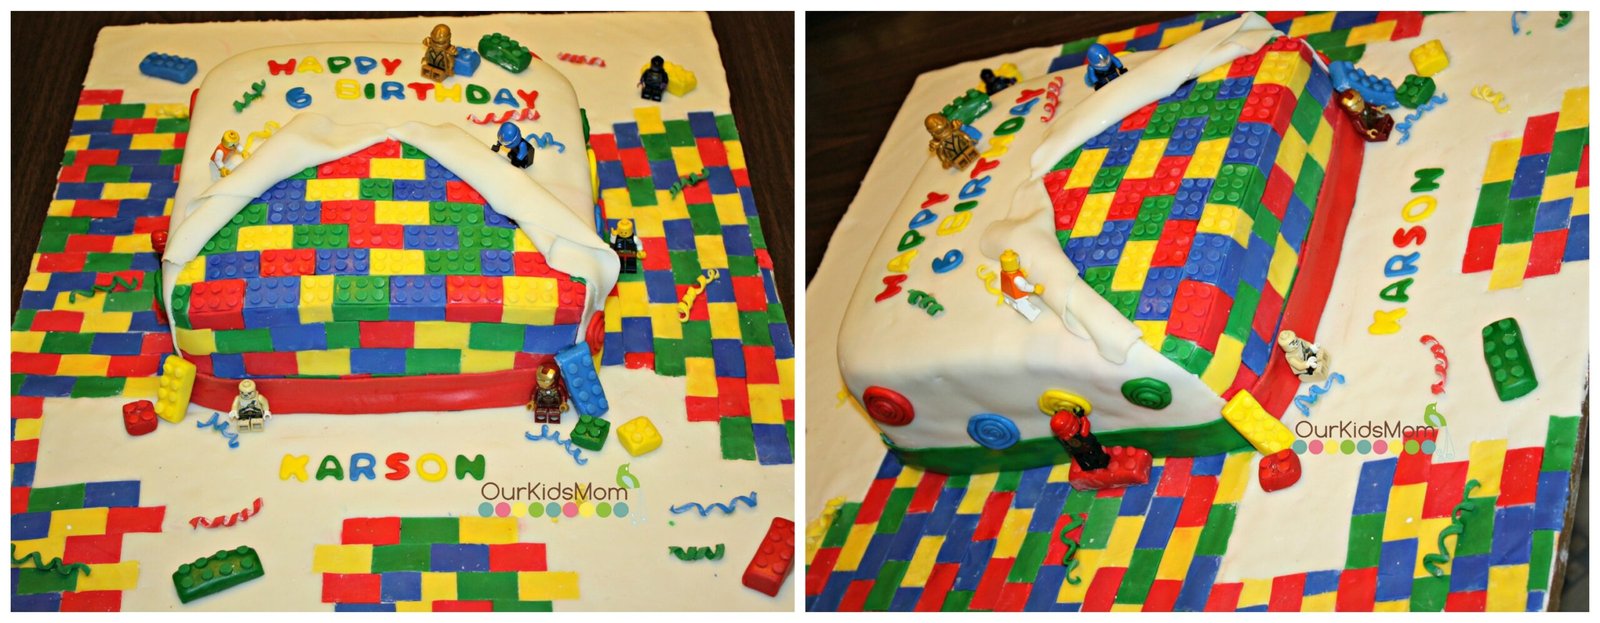
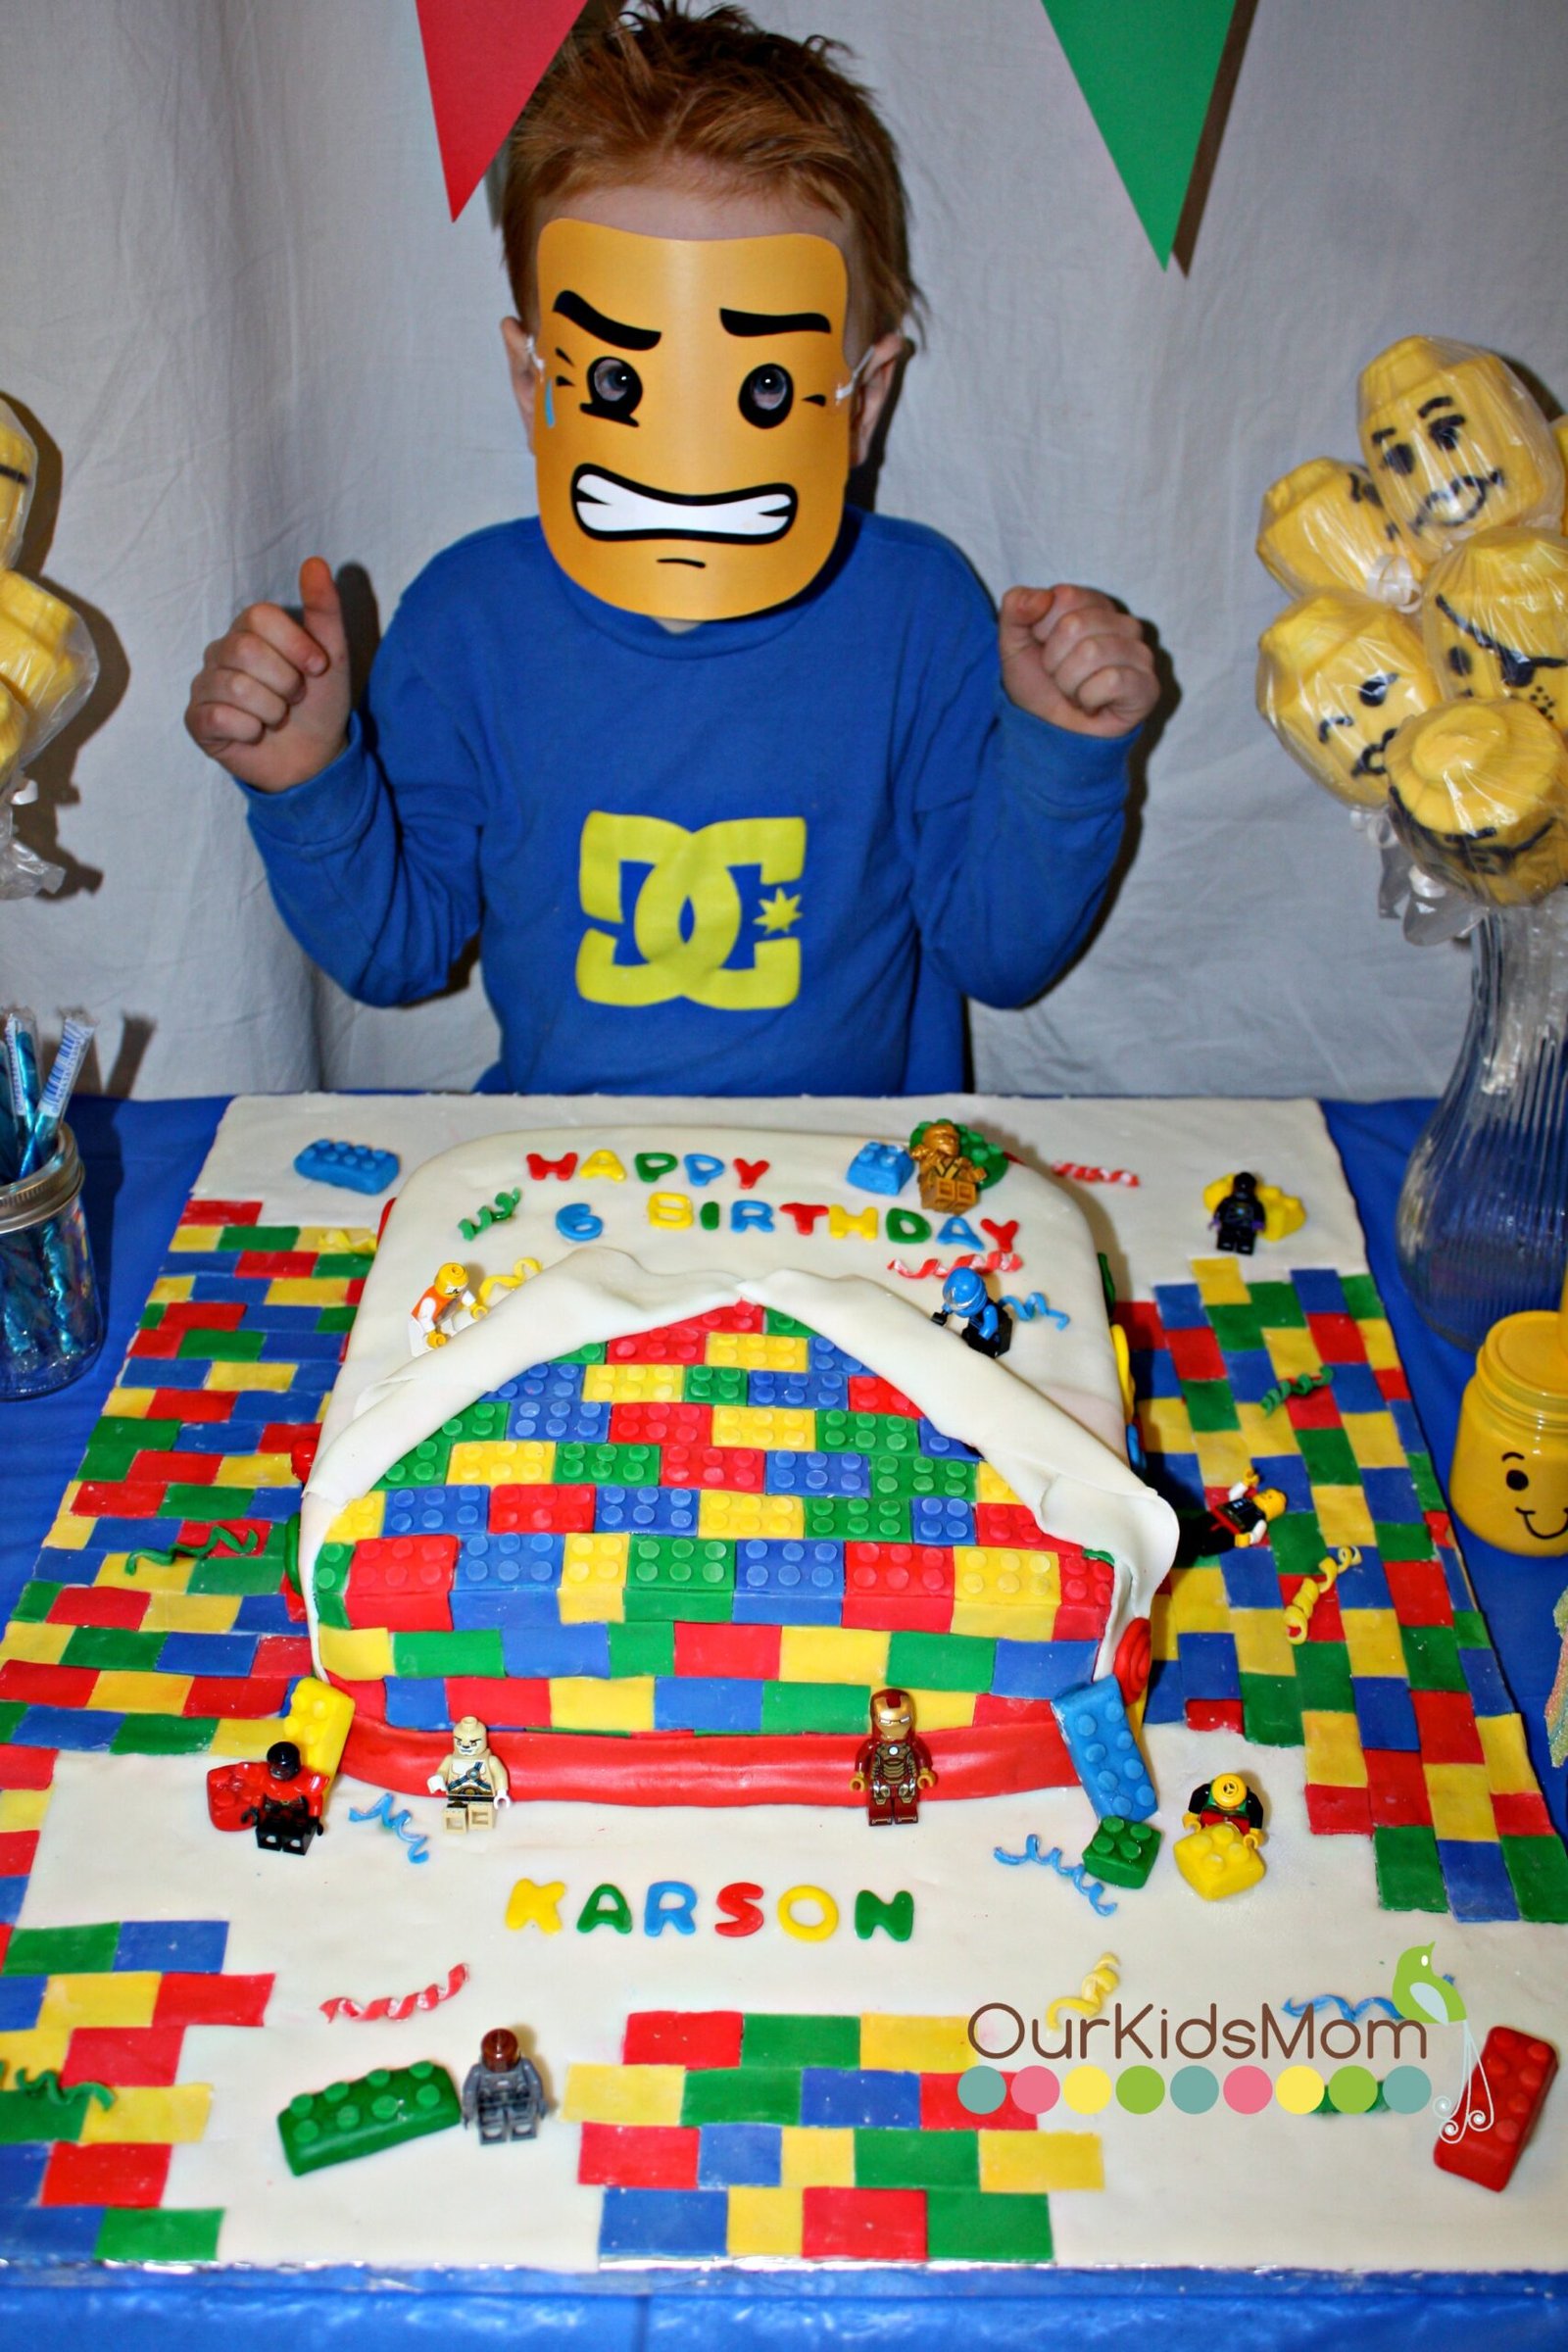
Having enjoyed birthday cakes made by my mother, I wanted to create something special for my children. I gathered inspiration from various Lego-themed cakes to craft my own masterpiece.
Deciding to try my hand at marshmallow fondant, I was a bit nervous but, in the end, found it surprisingly simple, easy to color, and handle!
To construct the Lego bricks, I cut rectangles of fondant, and to recreate the tops of the bricks on the cake, I used a round icing tip to cut small circles to place on top.
For decoration, I included real Lego figures, positioning them as if they were busy creating the cake themselves.
The entire cake took about seven hours to create, and I was thrilled with the outcome! My son was so happy to watch it come together, even helping with the final touches and positioning the Lego men.
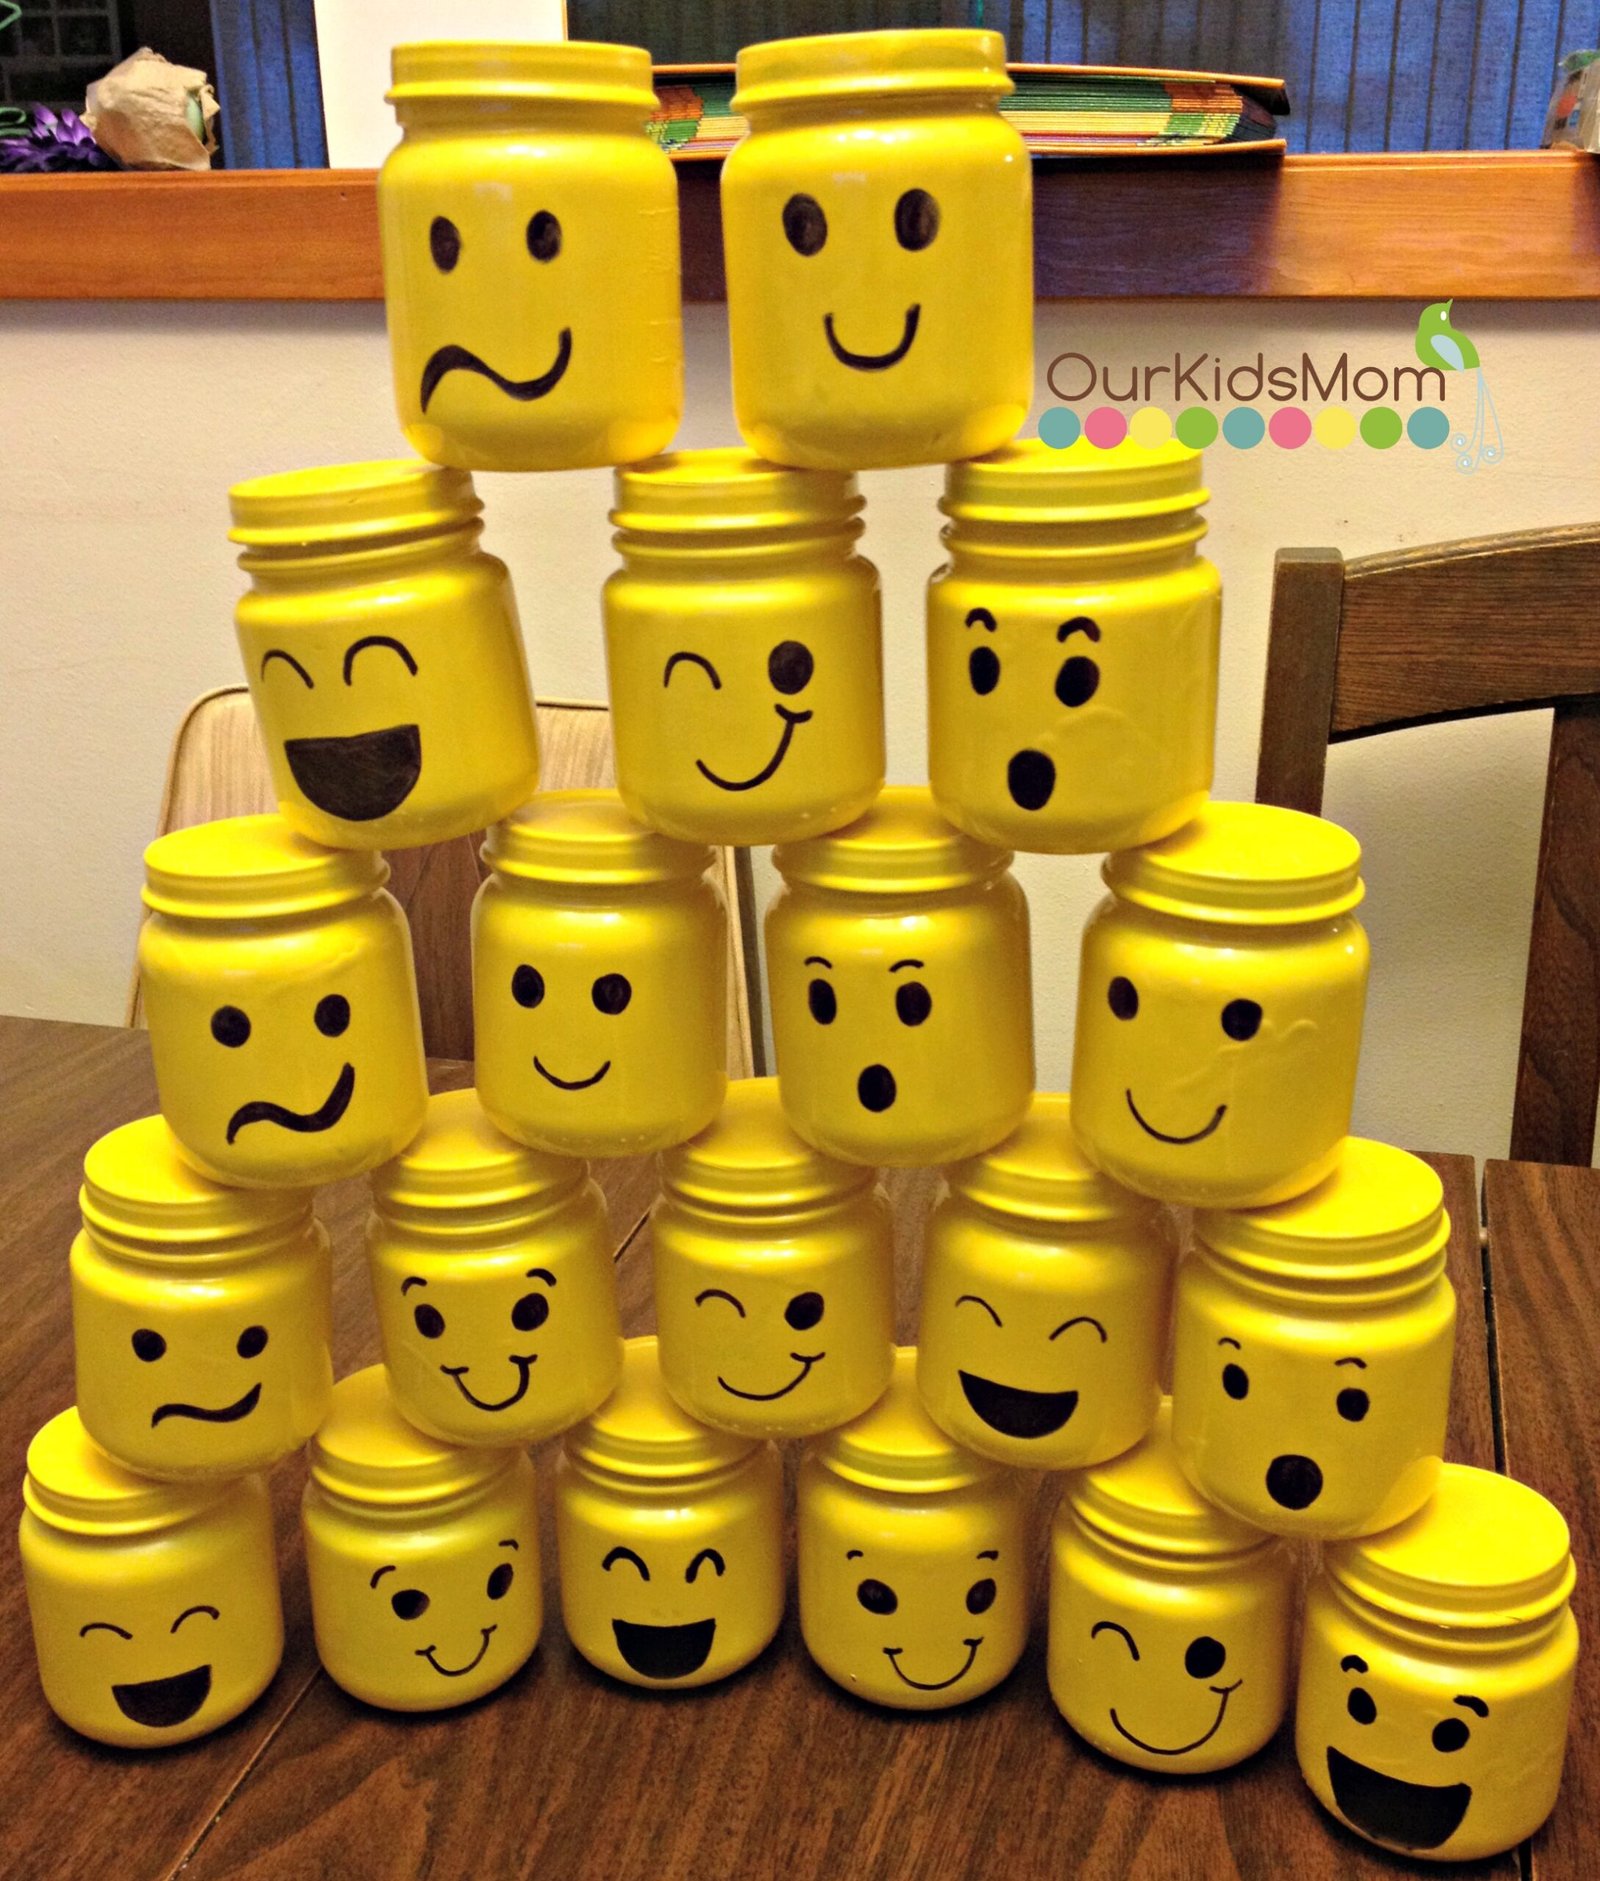
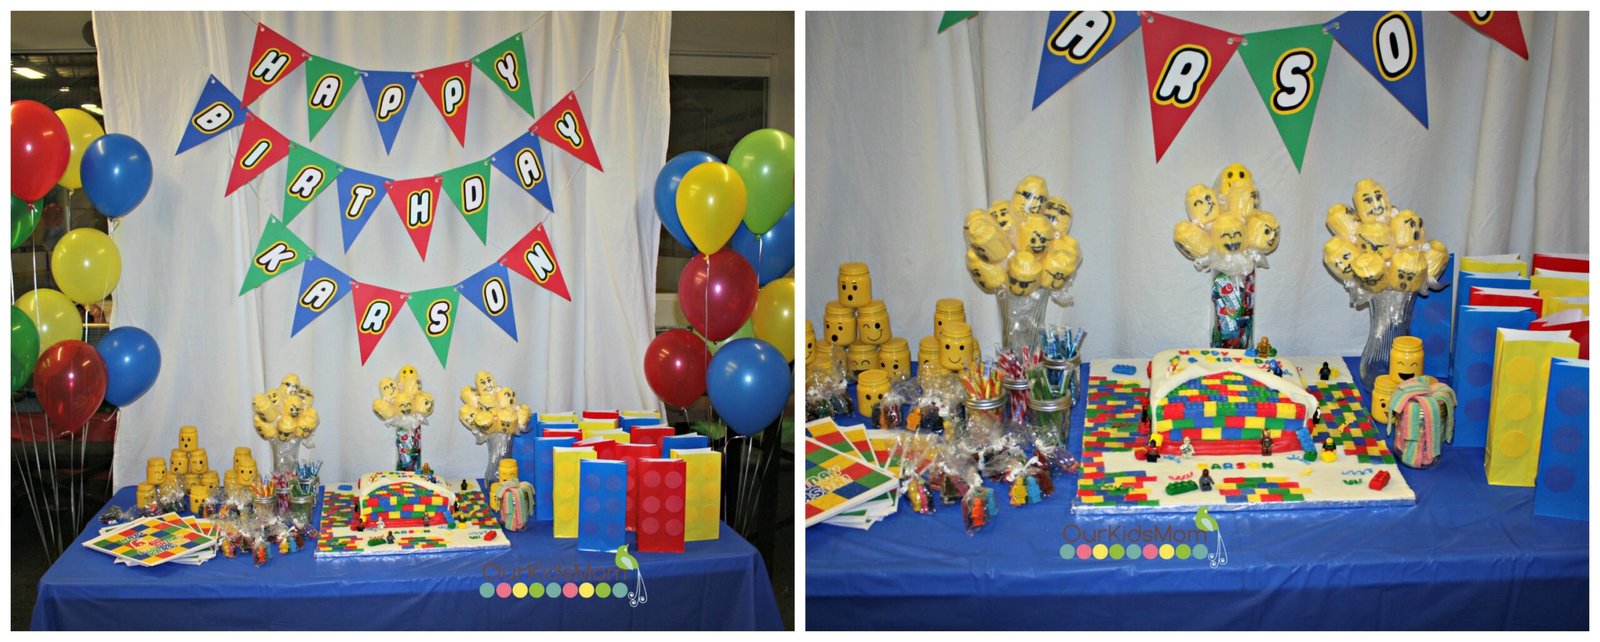
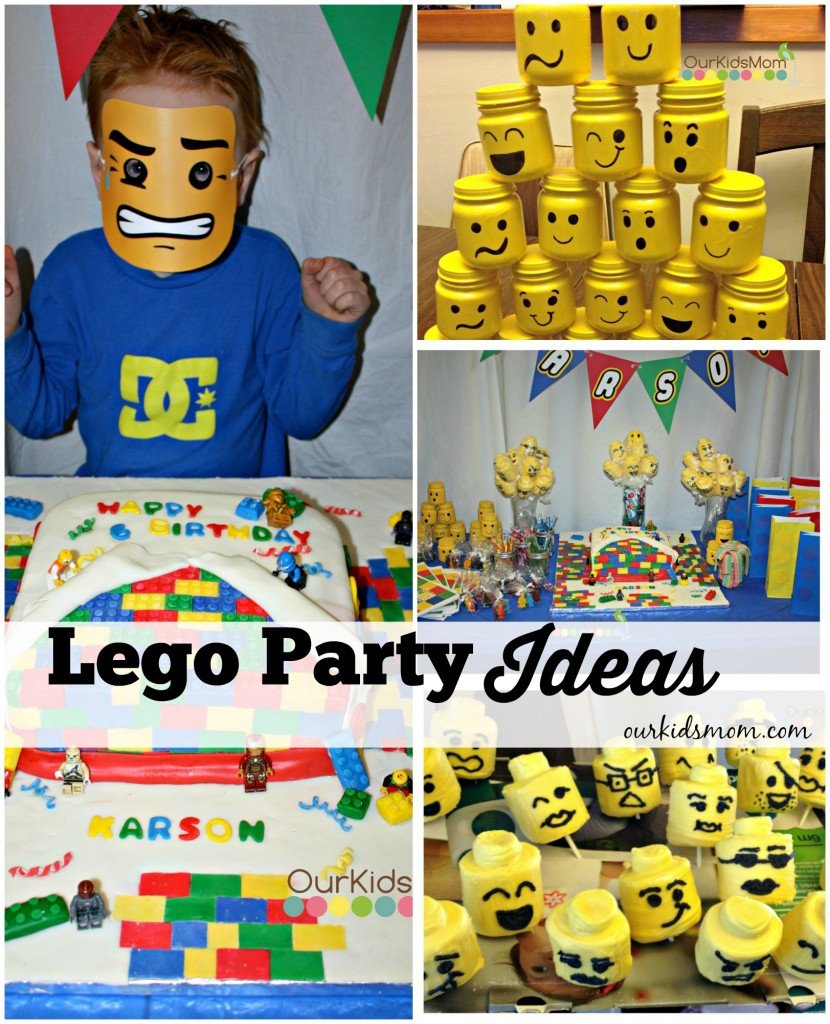
I also crafted Lego heads from baby food jars. With a quick spray paint on the jars and lids, I used a sharpie marker to add the facial features, filling them with Lego-themed candies.
These were another big hit at the party!
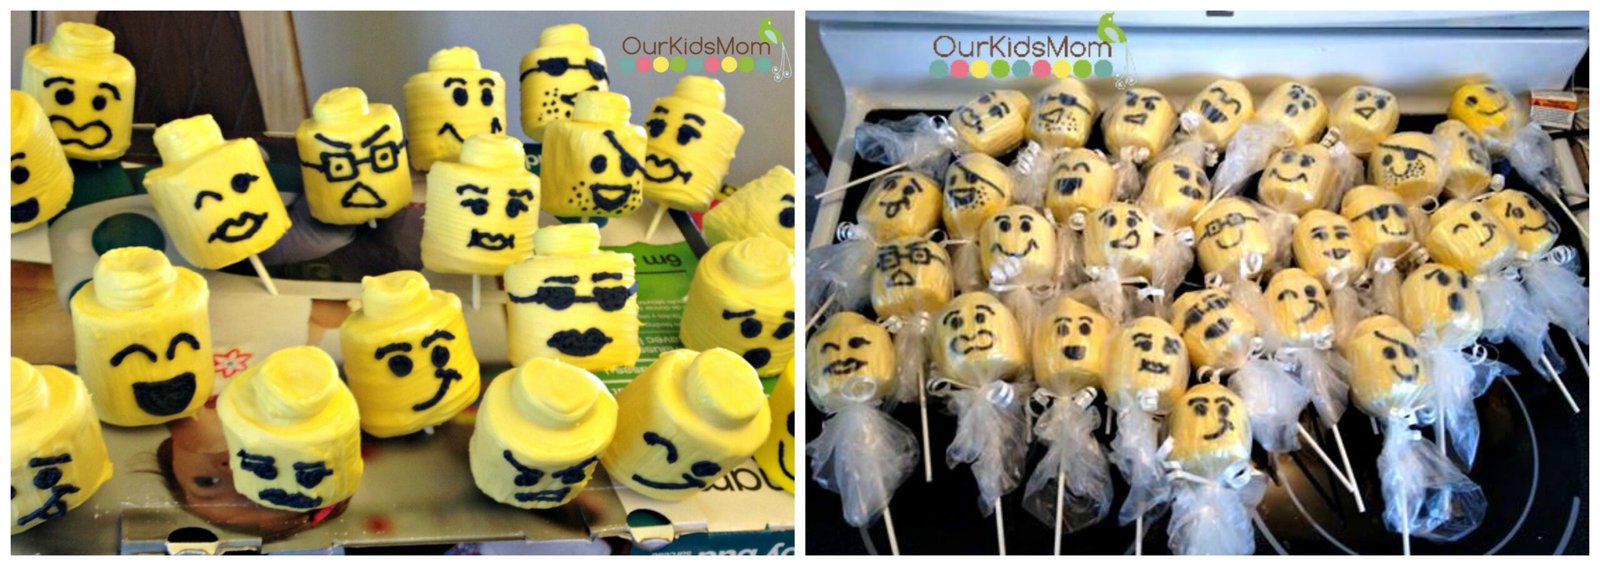
The marshmallow Lego heads were among my favorite decorations.
To create these, I used large campfire marshmallows for the heads and attached a smaller piece of a regular marshmallow on top to form the knob. Sticking the heads onto candy sticks completed the look.
Next, I melted yellow chocolate wafers and attempted to dip the entire marshmallow in chocolate. But it ended up being too heavy. Instead, I used a basting brush to apply chocolate, which worked perfectly.
Based on the tutorial, I tried to draw faces on the marshmallows using edible markers, but they wouldn’t adhere to the chocolate. After experimenting with food coloring gel without success, I finally settled on using black royal icing, which dried quickly and held up nicely.
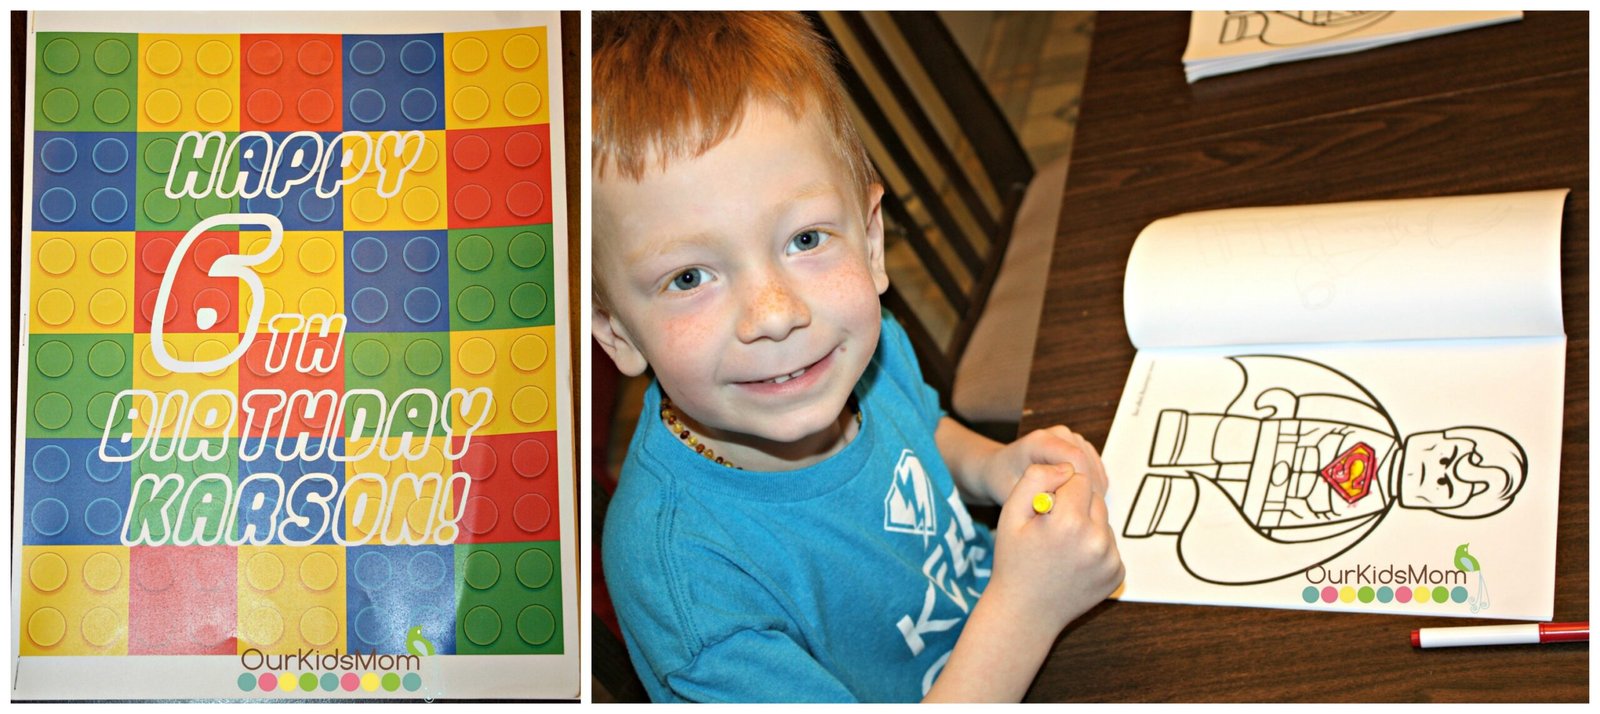
I found and compiled various Lego character images to create a custom Lego coloring book for the kids—a nice change from the usual candy in goody bags. I also purchased Lego crayons from eBay to accompany their coloring books.
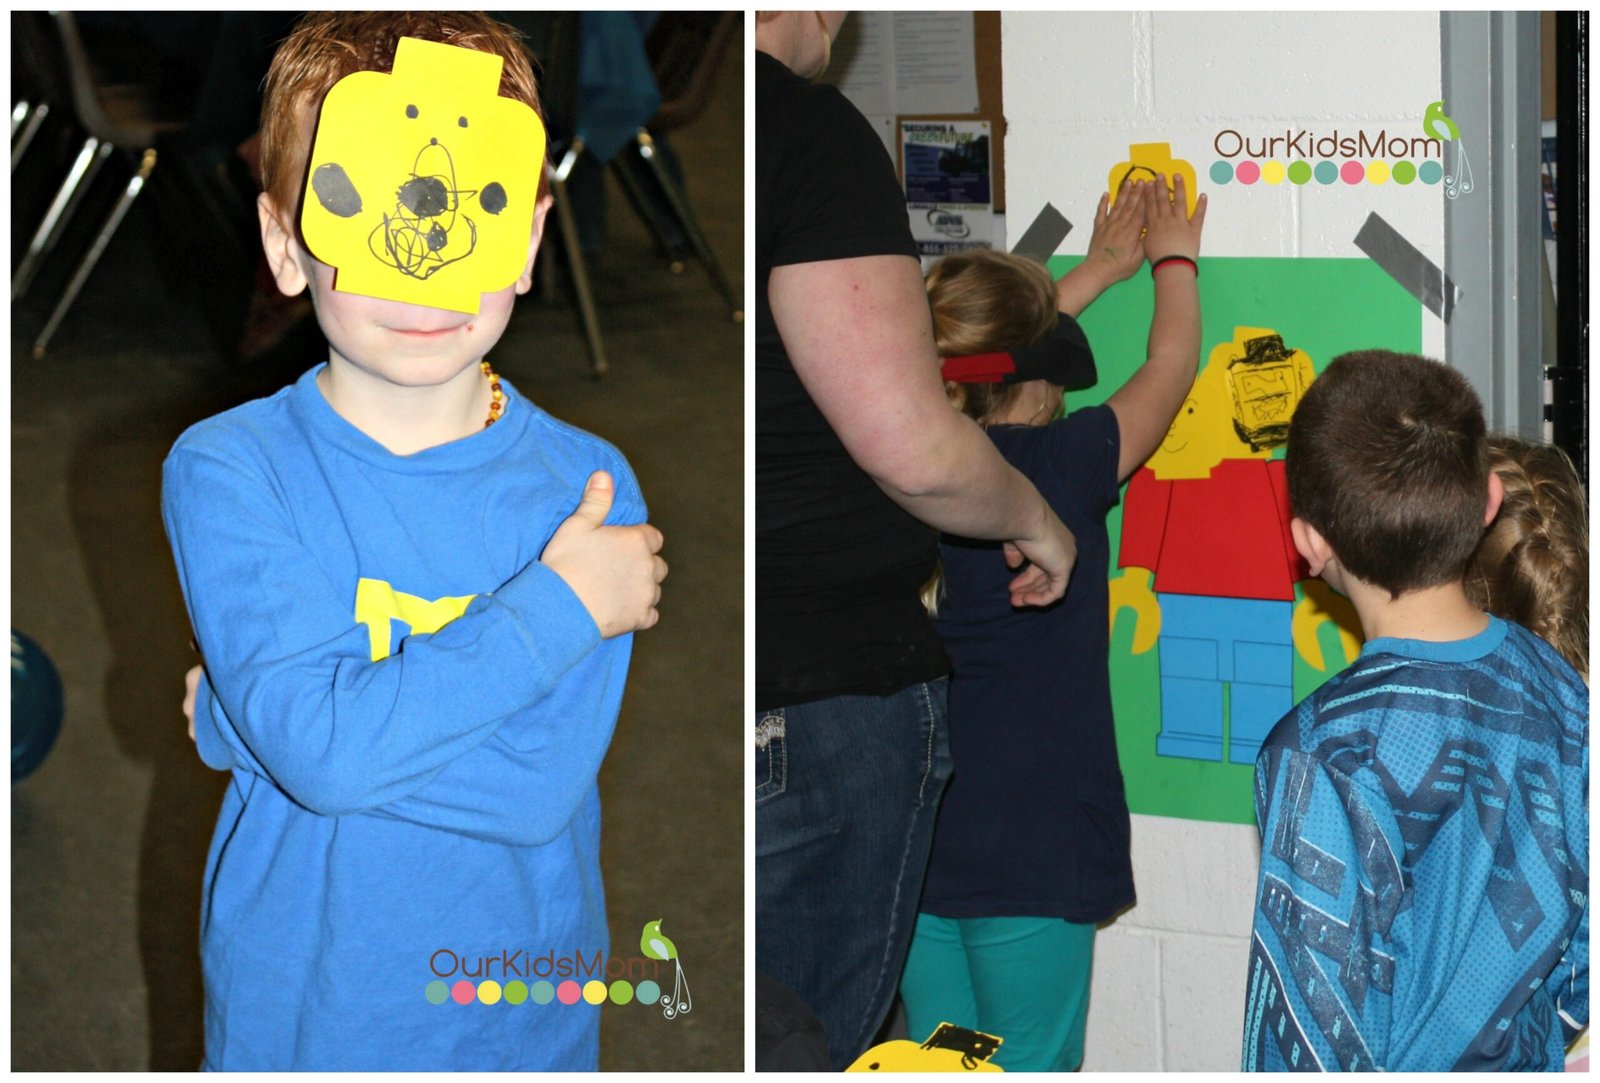
One of our fun activities was “Pin the Head on the Lego Man.”
I made Lego-shaped heads, where each child received a black marker to draw on their faces and then, with blindfolds on, attempted to pin their heads onto a large Lego man poster on the wall.
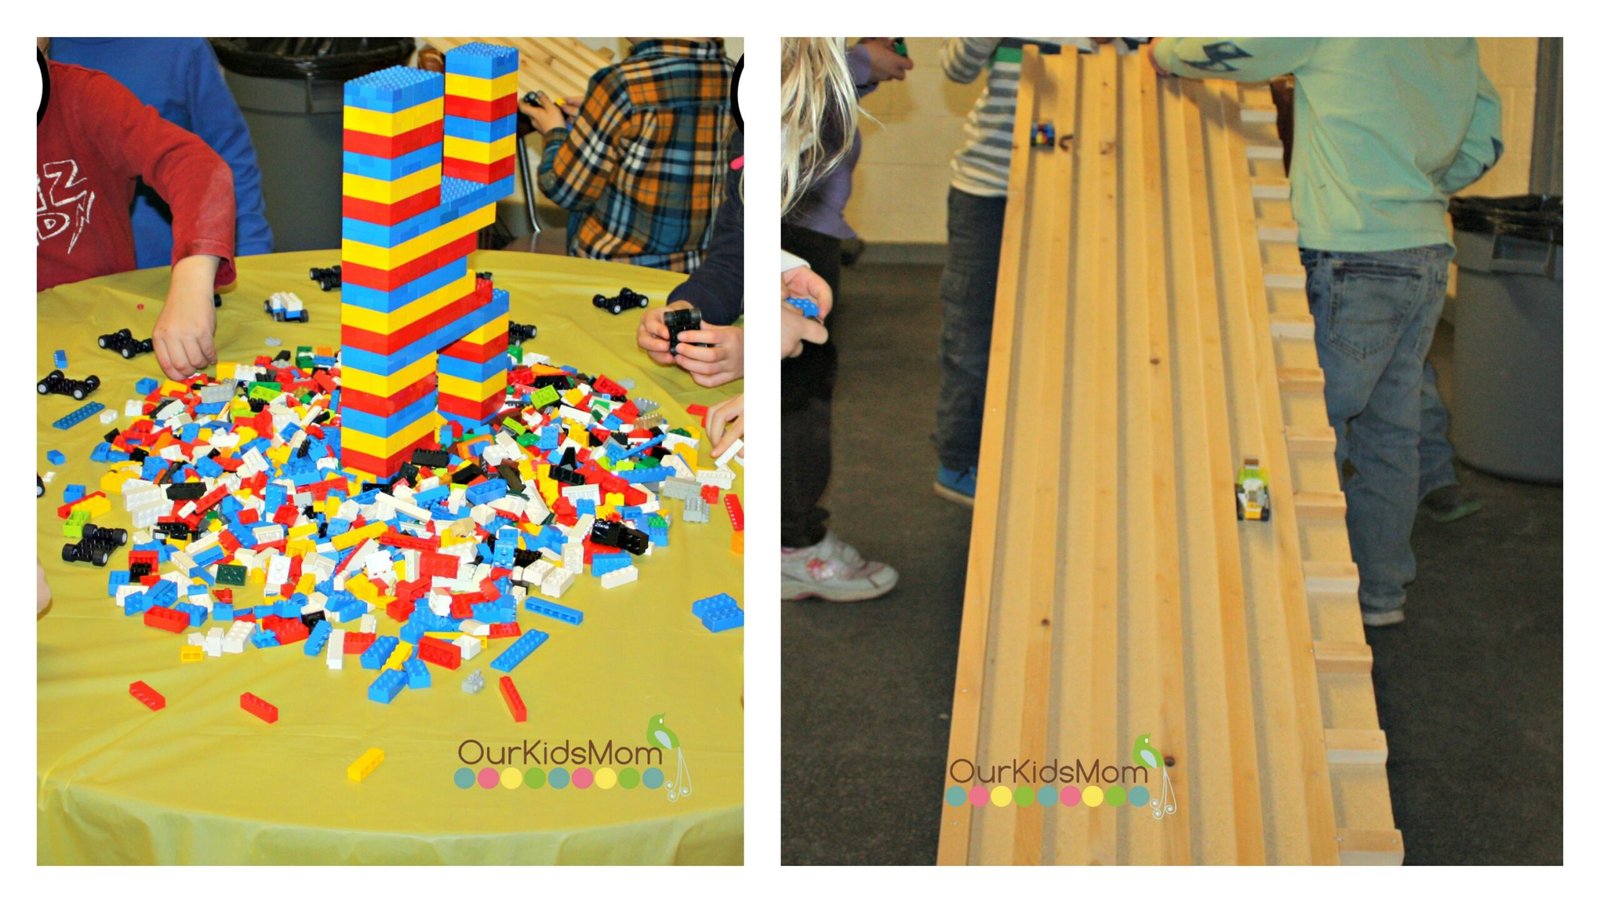
The biggest attraction, however, was the Lego building station.
Each child started with a car base and then had access to a variety of mixed Legos to create their own unique Lego car, which they were allowed to take home.
My husband constructed a race track for the kids to race their creations.
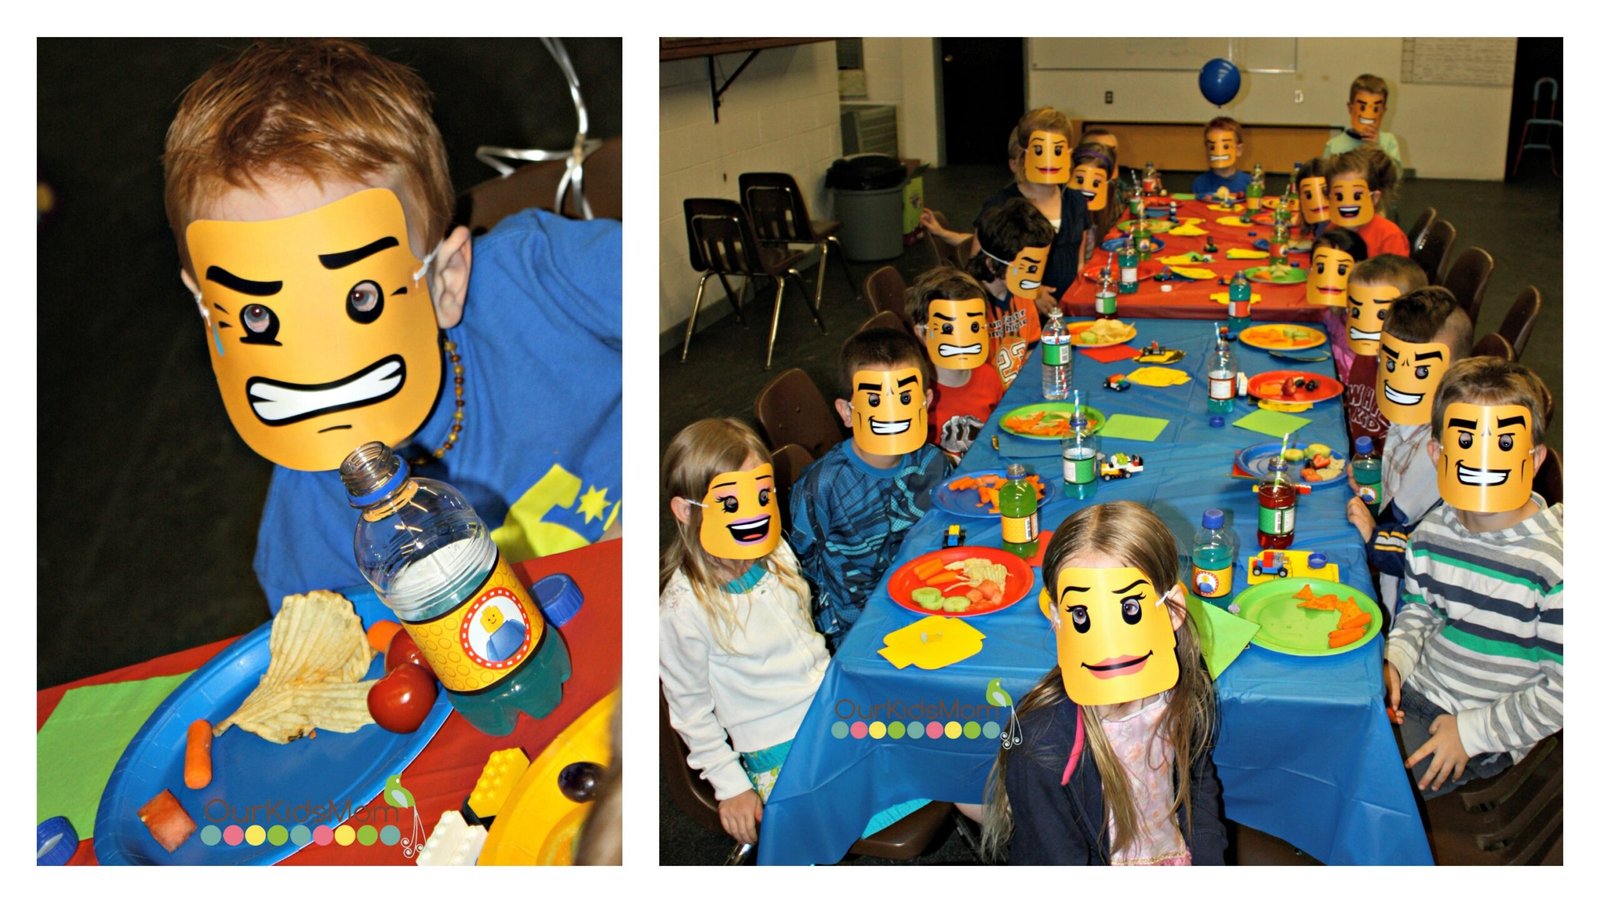
Each child was also given a Lego man mask to wear, allowing them to feel like actual Lego characters. These masks were printed from Lego.com.
For the party favors, I purchased solid-colored bags and added 3/4″ circles to mimic Lego bricks, making them both decorative and functional.
Most of my printable resources were sourced from www.halegrafx.com.
I was thrilled with how the party turned out, and it was heartwarming to see the sheer joy on my son’s face. The countless hours spent preparing were definitely worth it.
Enjoyed Lindsay’s ideas? Pin them for later!
Add Your Comment Cancel reply
Comments